Ready to give your nails a Valentine's Day makeover? This year, ditch the boring and embrace the fabulous! We've curated over 60 amazing nail designs perfect for 2025, from cute hearts to sparkly glam – there's something for every style. Whether you're a DIY queen or prefer a salon visit, we'll show you what's trending and how to achieve the look safely. But pretty nails aren't just about style; we'll also guide you through safe acrylic removal to prevent damage. Get ready for gorgeous nails and expert tips for keeping them healthy and happy – all in one place!
Classic Romance: Reds, Pinks, and a Touch of White
Timeless Valentine's Day hues receive a modern makeover in 2025. Think luscious, deep reds – almost burgundy – paired with soft, blushing pinks and crisp white accents. These colors are effortlessly chic, whether you opt for a simple, solid manicure or a more intricate design. Imagine a creamy white base with delicate pink swirls, or a classic French manicure with a subtle heart tip. Did you know that red symbolizes passion and love in many cultures, making it a perfect choice for Valentine's Day?
![Image of classic red and pink Valentine's Day nails]
- Description: Solid colors or simple color combinations. Very easy to create at home.
- Inspiration: Sophistication meets romance. Perfect for any Valentine's Day celebration.
Hearts Galore: A Playful Take on a Classic
Hearts are synonymous with Valentine's Day, but let's elevate the classic heart design! This year features everything from a scattered sprinkle of mini hearts to large, bold hearts as statement pieces. How many heart designs do you think you could incorporate into a single manicure?
![Image of nail art with scattered hearts]
- Description: Hearts of varying sizes and placements. Can be painted freehand or with dotting tools. Moderate skill level.
- Inspiration: A fun, flirty design that's sure to turn heads. Perfect for adding a touch of whimsy to your look.
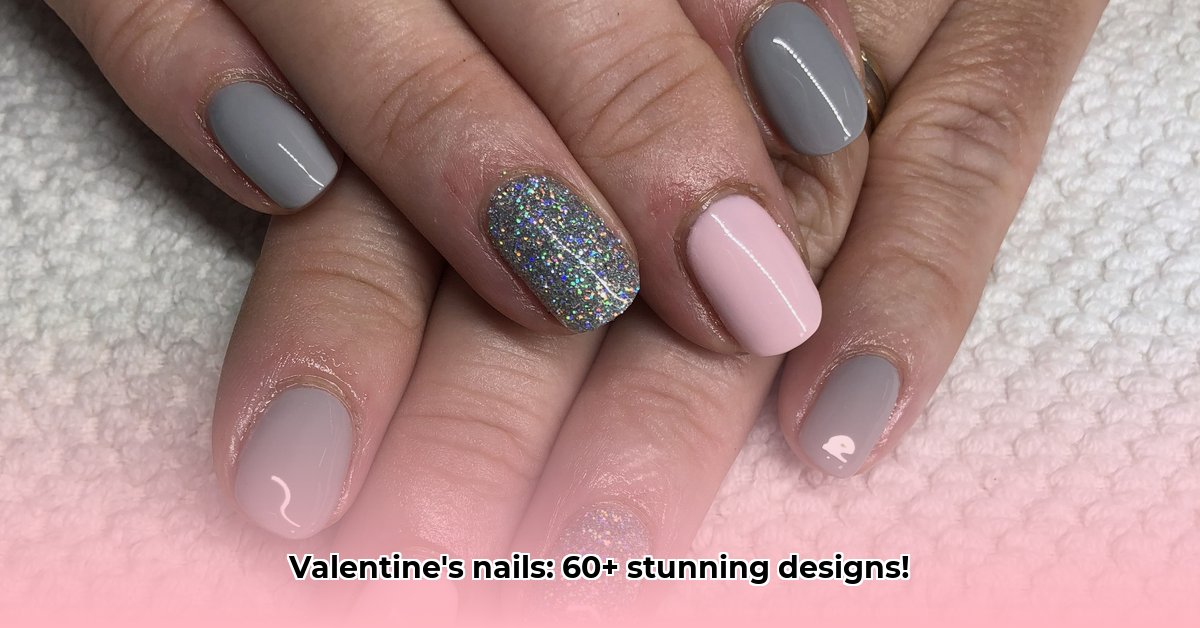
Shimmer and Shine: Glitter and Glam for Valentine's Day
Glitter always adds a touch of glamour, but this Valentine's Day, let it truly shine! Use it generously as an accent, or go all out with a fully glittering manicure. These shimmering nails add a touch of sparkle and fun to any outfit. Do you prefer a subtle sparkle or a full-on glitter explosion?
![Image of glitter Valentine's Day nails]
- Description: Glitter accents on a solid color or a complete glitter coat. Easy to apply.
- Inspiration: Embrace your inner sparkle and shine. These nails are perfect for a night out or a celebratory brunch.
French Manicure Remix: A Modern Romantic Twist
The classic French manicure gets a fun Valentine's Day twist! Imagine a classic French tip, but with tiny hearts, glitter, or even a playful ombre blend of pinks and reds. It’s elegant yet festive. According to leading nail artist, Anya Petrova of "Petrov Nails," the modern French manicure is all about personalization.
![Image of a romantic French manicure]
- Description: A traditional French manicure with Valentine's Day-inspired accents. Moderate skill level.
- Inspiration: A subtly romantic way to celebrate the holiday without being overly flashy.
Abstract Art: Your Unique Valentine's Day Expression
For adventurous nail art enthusiasts, abstract designs offer a phenomenal canvas. Experiment with rich reds, delicate pinks, and unexpected pops of color to create a one-of-a-kind manicure.
![Image of abstract Valentine's Day nail art]
- Description: Freehand designs using swirls, lines, and dots. Advanced skill level.
- Inspiration: A bold, artistic statement reflecting your creative spirit.
Safe Acrylic Removal: Protecting Your Precious Nails
Let's discuss nail health. Removing acrylics at home can damage natural nails if done improperly. While a professional salon is safest, this guide offers safe DIY removal, but proceed with caution!
DIY Acrylic Removal: A Step-by-Step Guide
Step 1: Gently file the acrylic's top layer to thin it (this aids acetone penetration).
Step 2: Saturate cotton balls with pure acetone. Place one on each nail, wrapping tightly with aluminum foil to prevent evaporation.
Step 3: Leave the acetone-soaked cotton on for 20 minutes (don't peek!). Longer soaking (within reason) softens the acrylic.
Step 4: Carefully remove the foil and cotton. Gently peel away the softened acrylic. Repeat soaking for stubborn bits.
Step 5: Use a gentle buffer to smooth any residue (avoid over-buffing – this can damage your natural nails).
Step 6: Apply a rich cuticle oil or moisturizer to hydrate your nails (acetone is drying).
Important Caution: Acetone is a powerful solvent. Work in a well-ventilated area to avoid inhaling fumes. Minimize skin contact. Stop immediately if irritation occurs and wash your hands thoroughly. Dr. Evelyn Reed, a dermatologist at the Mayo Clinic, emphasizes the importance of gentle removal to avoid damaging the nail bed.
DIY vs. Professional Acrylic Removal
| Feature | DIY Removal | Professional Removal |
|---|---|---|
| Cost | Low | Moderate to High |
| Convenience | Convenient, but time-consuming | Convenient, quick and efficient |
| Risk of Nail Damage | High | Low |
| Expertise | Requires careful attention and proper techniques | Performed by trained professionals with specialized tools |
Professional removal minimizes damage and keeps nails looking their best.
How to Safely Remove Acrylic Nails at Home Without Damaging Them
Key Takeaways:
- Gentle removal is crucial.
- Proper tools and techniques are essential.
- Acetone-based removal is faster but can dry nails.
- Acetone-free options are gentler but slower.
- Patience and a methodical approach are key.
More designs will be added soon. Check back for updates!